Tuesday, January 8, 2013

Ribbon and Pearl Bracelet

 I think ribbon and pearls are the perfect combination of femininity and strength. This bracelet is a beautiful way to put the two together. It's very comfortable to wear and kind of "rolls" on your wrist.


Materials:

2 silver bead tips
2 silver jump rings
silver toggle clasp
23 6mm pearls ( I like Swarovski crystal pearls)
ribbon 1/4 inch wide ( I've only used 100% polyester ribbon but you can experiment with others)
beading glue
100% satin thread ( I like #6)


The silk thread comes with a beading needle already attached.  I start by putting a knot on the end of the thread, leaving about an inch tail. Add a bead tip and knot the thread right up close to the bead tip. Make sure the little hook of the bead tip is facing the end of the string. This is where you attach your jump ring at the end. Next, hold a lighter to the end of the ribbon, just enough to melt it so it doesn't fray.  You don't need to actually touch the ribbon with the lighter. It just needs to be close enough to melt. ( please use caution). Fold the end of the ribbon over about a 1/4 inch. Thread the needle of the silk thread through the two layers of ribbon. The folded over end of the ribbon should be on the inside where the first pearl will go. Now you are ready to start adding pearls. Thread on a pearl and then thread the silk through the center of the ribbon at the end of the pearl.  I kind of eye ball this part. Alternate back and forth. Ribbon Pearl Ribbon Pearl. Sometimes  It should look something like this while you are working.....


I completed about 6 inches of ribbon and pearls because my toggle clasp gave me an additional inch and a half. Adjust the length of ribbon and pearls according to how much length your clasp will add and how large your wrist is.  When you have it long, enough cut the ribbon from the spool, leaving enough to double it over. End the bracelet by repeating the same procedure you did at the beginning.  Melt the end of the ribbon, fold it over toward the last pearl, and thread the silk through the two layers of ribbon. Make a knot up tight against the the ribbon.  Add your second bead tip with the hook facing away from the bracelet. (Note the photo above). Make a knot. Add a bit of bead glue to each knot inside the bead tip. Cut when dry. Add your jump rings and clasp. Enjoy :))

Sunday, January 6, 2013

Galatians 5:22-23


But the fruit of the Spirit is love, 
joy, peace, patience, kindness, 
goodness, faithfulness, 
gentleness and self-control. 
Against such things there is no 
law.

Thursday, January 3, 2013

Christmas Card Recycle

I love the tradition of sending and receiving Christmas cards each year.  When the season is over I find it such a shame to just throw them out.  This year I decided to recycle the cards I received in a couple of different ways.

First I made Christmas tags for next year.  I hate paying full price for wrapping supplies.  This year when I went to wrap presents I didn't have any tags so I had to run out and pay full price. So annoying! So I prepared some tags for next year by cutting the fronts of the Christmas cards to approximately 2 x3, punching a hole in the top and adding some ribbon. Now I'm all ready for next year and I won't have to run out to CVS!

The next thing I did with some of the cards that we had received was something that I had read about in our local newspaper: Project CARD ONE. This project sends holiday cards to our servicemen overseas. They accept new and used holiday cards. If sending used cards, tear off the decorative front to create a postcard, then either write a personal message to a service member or leave blank. Cards may be mailed to Project CARD ONE, MLO P.O. Box 68, Greenwood Lake 10925.

Do you do anything special with the cards you receive?

Tuesday, January 1, 2013

Happy New Year

Happy New Year! Happy New Beginnings! As we embark on 2013 let's think about all of the potential a new year brings. I especially want to think about all of the good we can bring to others through positive energy. Do you work with someone who is always miserable? Do you see people in the grocery store who look like they hate every moment of that chore? How does it make you feel to be around those people? I know it makes me feel down and cranky. I could be in a great mood but being around a Negative Nellie can take the wind right out of my sails.

Of course everyone has a bad day. Of course everyone tends to feel down, especially during these grey winter months. It's natural. But do we need to share this with the whole world? Confide in a dear friend, your mother, your sister.....then smile.....and be thankful that you have someone to talk to.

I don't want to be the person who brings everyone down. I know that when I come home from work in a bad mood and start yelling it affects the whole household.

So in this new year let's remember to be a positive force, not the Negative Nellie. 

Oh....and remember to SMILE!

Wednesday, September 12, 2012

Pearl Redo

I was recently asked to make a new piece of jewelry out of a children's length pearl bracelet.  The pearls belonged to my customer's mother and she wanted to pass them on to her grown granddaughter. One thing I didn't want to do is add in pearls or beads that hadn't belonged to her mother.  I decided to add sterling silver chain and make the bracelet into a necklace. I think it's the perfect combination of a classic look with a modern twist.

Here is the bracelet before.....

 And After......


Thursday, September 6, 2012

First Day of School

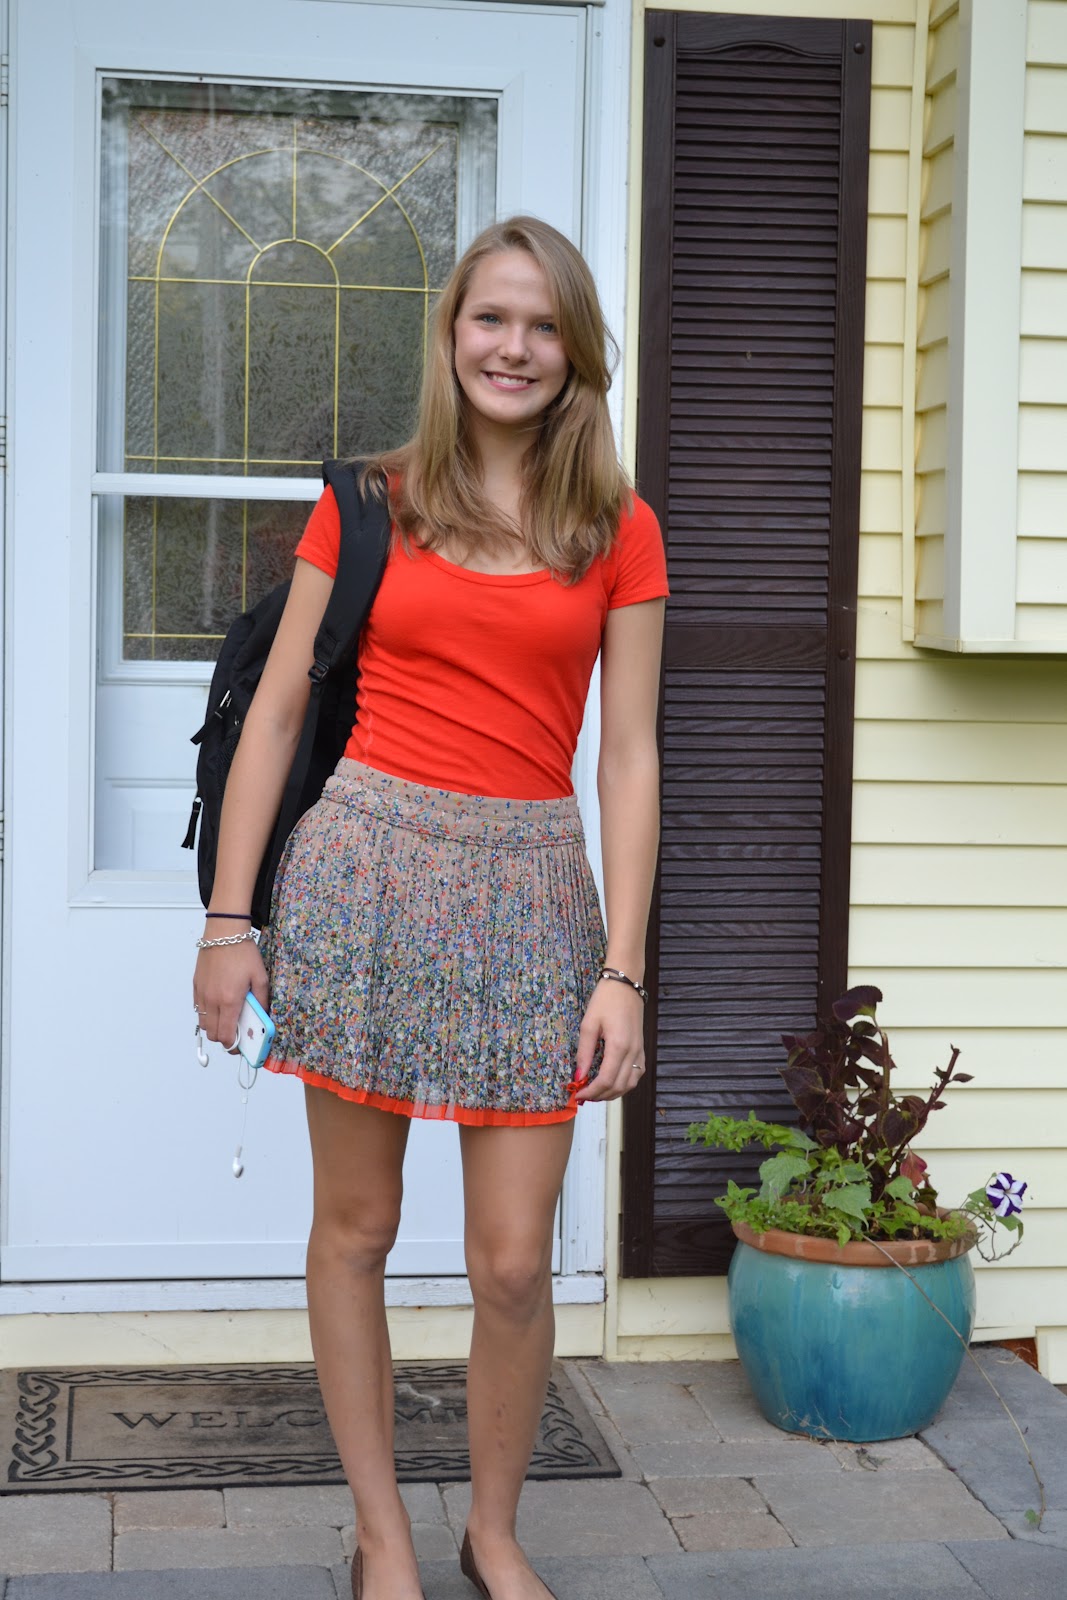
Today was the first day of school for my kids. Gone are the days of walking them to school or the bus stop. Gone are the days of projects made out of pipe cleaners and dry pasta. Gone are the days of Show and Tell. Oh, how time marches on. One thing I will not give up though is first day of school pictures! So here they are.........

 Matt going into 8th grade

Alison going into 10th grade

I'm sure you are both going to have a great year!!

Wednesday, September 5, 2012

Vintage bracelet

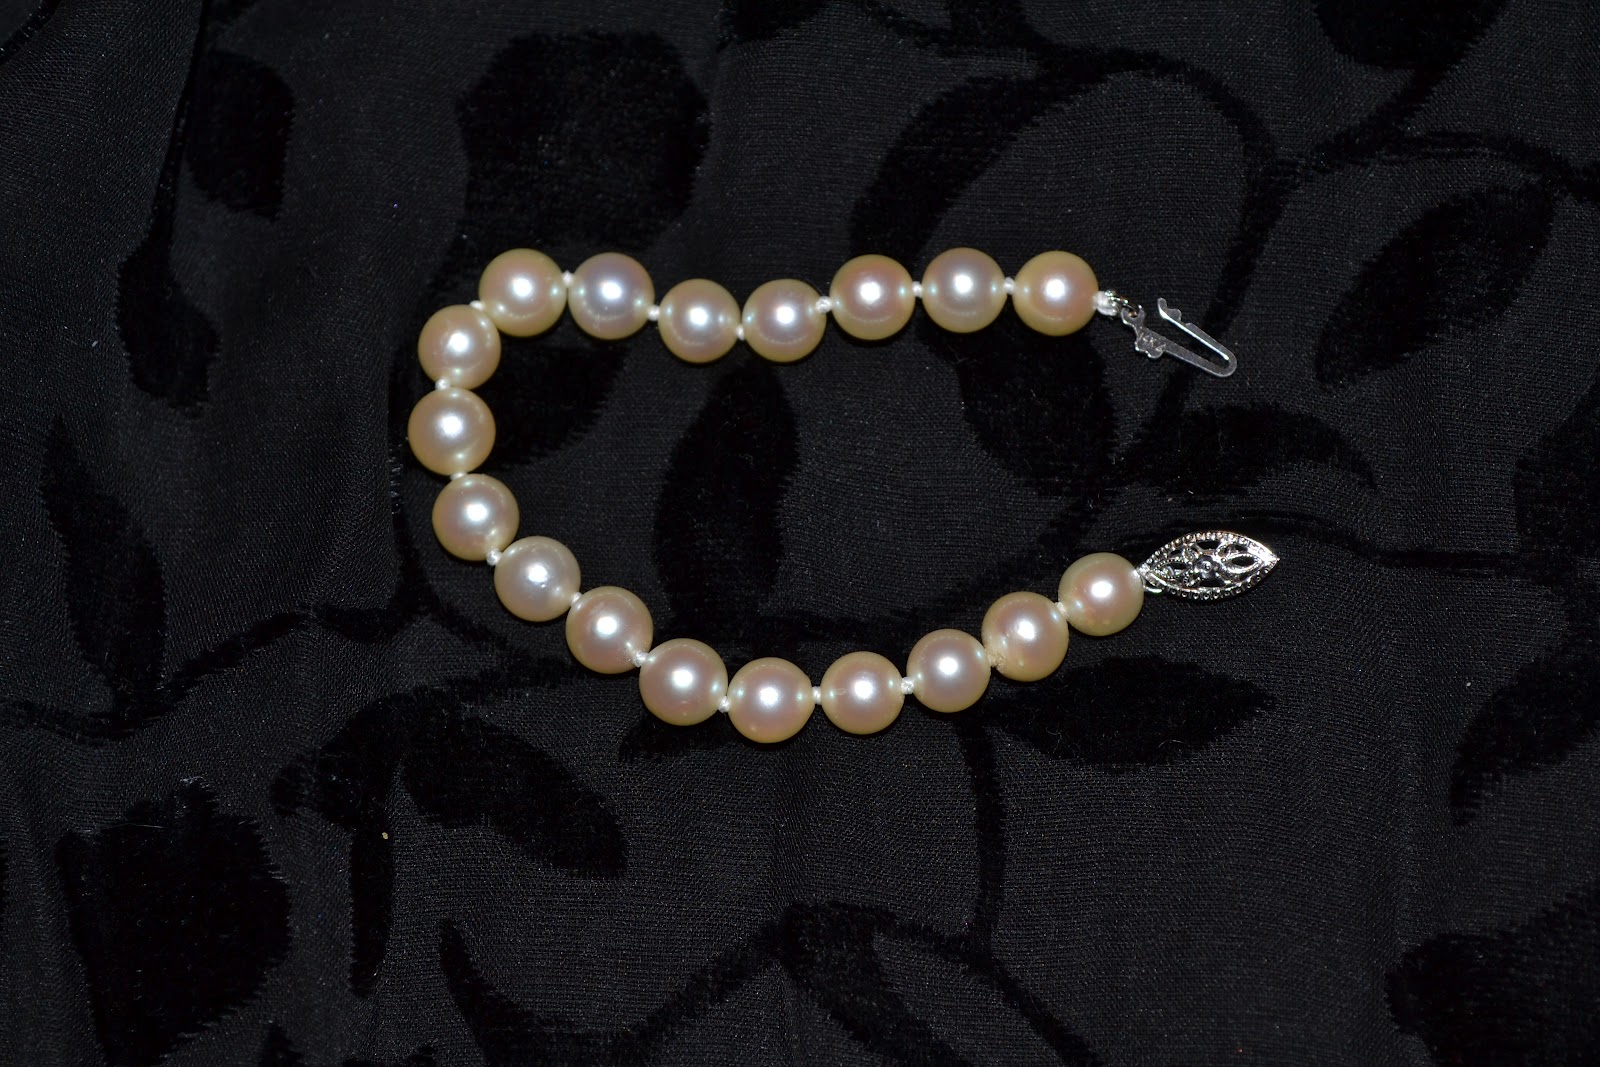
I just finished restringing this gorgeous vintage bracelet. 


It belonged to my customer's mother.  It has the most beautiful clasp. I love working on these vintage pieces.  I can't help but wonder....Was it a gift from an adoring spouse? Did she wear it to a neighbor's Christmas party? What color was the gown she wore it with?  I love that my customer honors her mother by wearing this special piece and has it repaired and strengthened so that she can wear it for many more years. And possibly pass it on to her daughter one day.